Digging in to make your own compost
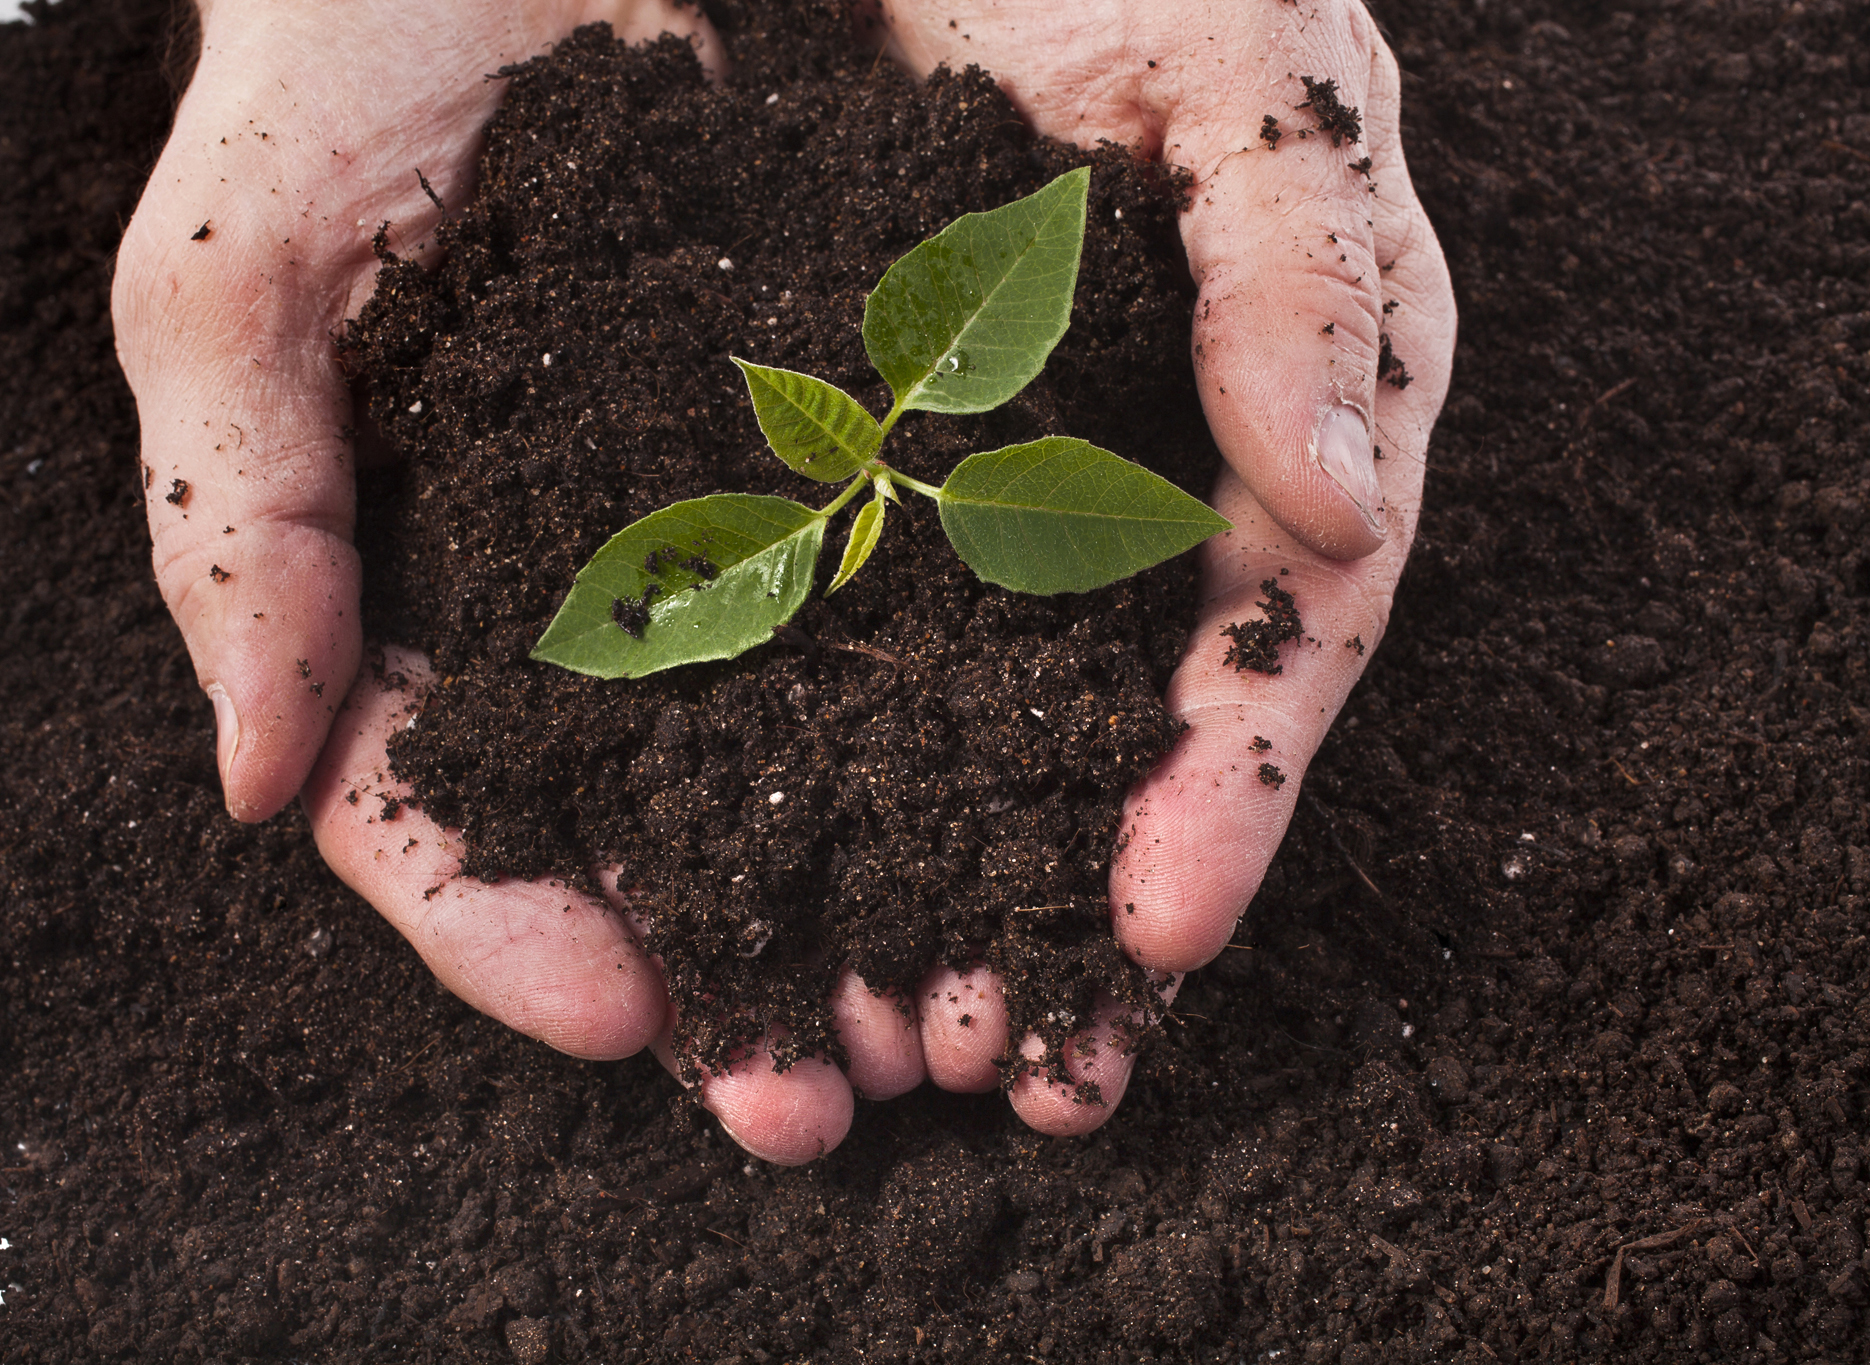
Simply put, compost is decomposed organic matter that can be used as a fertilizer for plants. Composting is the natural process of recycling organic material — such as dark, crumbly soil-like material that can be used as a mulch, top dressing or soil amendment.
Anyone can compost at home
Maybe you’ve heard that composting is too complicated. Or that it smells bad and it’s messy. Those can all be true — if you’re composting the wrong way. Composting the right way is actually very simple. You start by alternating layers of organic materials with a small amount of soil to create a mixture called humus — a spongy substance that holds 90% of its weight in water, locks in nutrients that plants require and improves soil structure by making the soil looser.
Hot or cold?
There are two types of composting. Cold composting is as simple as collecting yard waste and organic materials from your trash (including fruit and vegetable peels, coffee grounds and filters, eggshells and tea bags), and rounding them up into a pile or in a bin. Over time – typically a year or so — the material will decompose. Hot composting is for the more serious gardener, but it produces much faster results — just a few months in warmer weather. To “cook” hot compost, you need a mix of materials containing nitrogen and carbon, as well as air and water. Together, these items feed the microorganism that speed up the process of decay.
Starting with the right ingredients
Anything that was once alive will naturally decompose. But some organic wastes should not be composted at home. Here’s a good list of do’s and don’ts for what to include in your compost mixture:
DO compost these items
- grass and plant clippings
- dry leaves
- flowers and old plants
- old potting soil
- twigs and finely chopped wood
- fruit scraps
- vegetable scraps
- coffee grounds and coffee filters
- eggshells
- tea bags
- straw
- shredded newspaper
- wood chips and sawdust
- corn stalks
DON’T compost these items
- diseased plant material
- anything containing meat, oil, fat or grease
- weeds that go to seed
- invasive weeds
- bread and grains
- fish or fish parts
- dairy products
- dog or cat feces
Compost is more than just old leaves and a few vegetable scraps. All organic materials contain carbon and nitrogen in varying ratios. Carbon in brown leaves and woody materials provide energy. Nitrogen and bacteria in grass clippings and vegetable scraps provides protein for cell development. Try using a mixture of two parts high nitrogen/green materials with one part high carbon/brown materials.
How to make cold compost
For cold compost, follow these basic steps:
- Build your layers. Start with a pile of wood debris, such as branches and sticks. This is the carbon layer that will aid in heating and provide air pockets for bacterial decomposition. Next, apply a layer of leaves and straw (if you have it), then sprinkle those two layers with a little water. Toss on the fruit and vegetable scraps. Then add the old potting soil and coffee grounds, adding microorganisms to the mix. To finish the pile, add another layer of fruit and vegetable scraps, then top with leaves and a bit of finished compost. That’s it.
- Mark your calendar… and wait. This is a year-long endeavor, so plan accordingly. One approach is to build your pile in the fall. Once your compost heap is completed, let it sit over the winter — up to three months — then turn the pile once each week for another six to nine months. By stirring the mix, you’re adding oxygen to the pile to speed up the decomposition.
- Scoop, spread and enjoy. Scoop up your amazing new compost, spread it around your flower and vegetable beds and watch your plants grow.
How to make hot compost
For hot compost, follow these basic steps:
- Combine the green and brown materials. To make your own hot-compost heap, wait until you have enough materials to make a pile that’s at least three feet deep. To get started, mix your wet, green items with your dry, brown items. As you build your compost pile, alternate layers of green and brown items. If the pile looks too wet or smells, add more brown items. If the pile looks really dry and brown, add more green items and maybe a little water to make it slightly moist.
- Add water to the pile. Spray water over the pile on a regular basis so it has the consistency of a damp sponge. Be careful not to add to much water or the microorganisms will become waterlogged and die. If this happens, the pile will rot instead of turning compost. Also, check the temperature of the pile every day using a long composting thermometer to make sure the materials are properly decomposing — something in the area of 120 to 160 is ideal. If it goes above 160, turn the pile to lower the temperature a bit.
- Stir the pile. Since the air in the pile is usually used up faster than the moisture, the materials need to be turned, or mixed occasionally to add the air necessary to sustain high temperatures and control odor. Turning the pile — using a garden fork or a shovel — will help even out the mixtures, combining the active and non active materials together. Typical hot-compost piles need to be turned once every five to six days. Stirring the pile will also help it cook faster and prevents all the materials from getting matted down and starting to smell. By the time you’re ready for the first turning, the layers have served their purpose, so mix away!
- Serve when ready. When the compost stops giving off heat and becomes dry, brown and crumbly, it’s fully cooked and ready to feed to your garden. Add four to six inches of compost to your flower beds and in your planter areas each planting season. A few kitchen scraps, some patience and these four simple steps will make your garden very happy.
Remember that composting is an inexact art. So depending on what you toss into the mix, what time of year it is, what the weather is like and other variables, you may need to experiment and adjust your mix of high-nitrogen fuel, green bacterial materials and woody, high-carbon ingredients to get the perfect mix for your yard.
Share This